Category Archives: planting

Veggies 9.1

Growing vegetables this year was, well, challenging. The routine has been to plant seeds for cool crops in April, plant seeds and seedlings for warm crops after the last frost or by Memorial Day, and then try to squeeze in a small crop of greens in the late summer to fall.

This year I actually managed a staggered planting of spring cool crops. Then we promptly left the country. Poor planning? Argh. Well, then I was busy getting the rest of the Lot in shape, so our only warm crops this year are 3 tomatillo plant volunteers, some basil, a handful of garlic and beets (carrying over from spring), and what looks to be a volunteer cherry tomato plant.

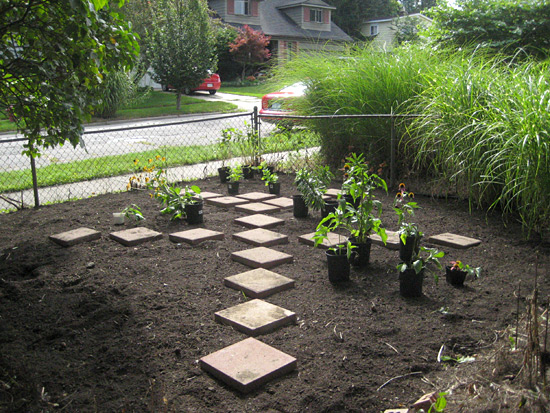
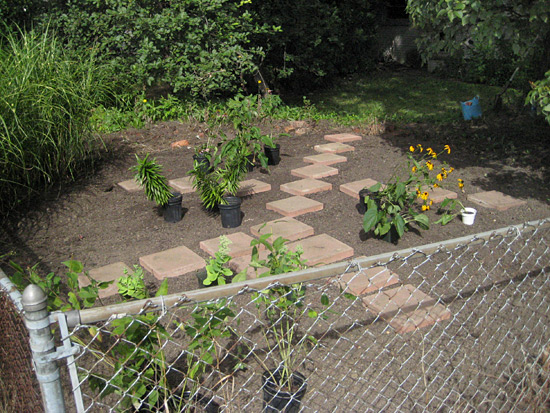
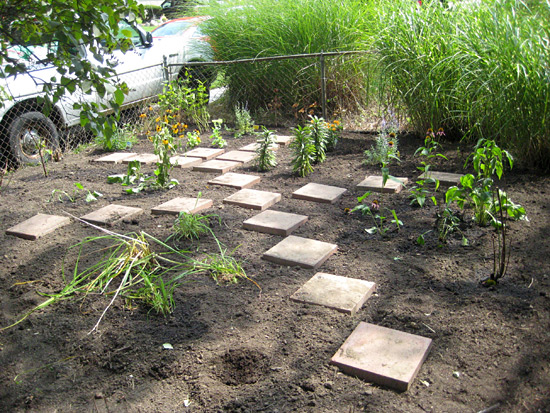
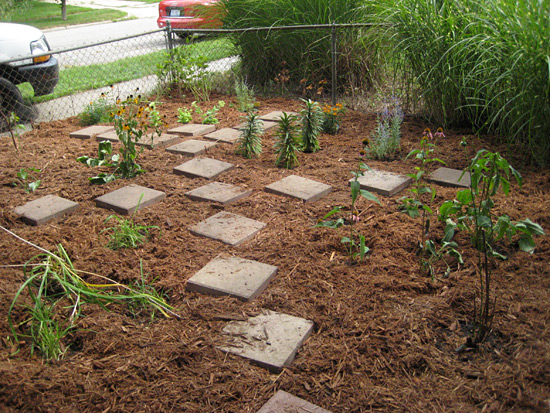
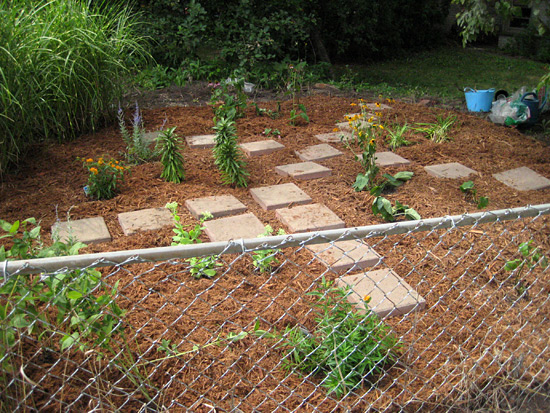
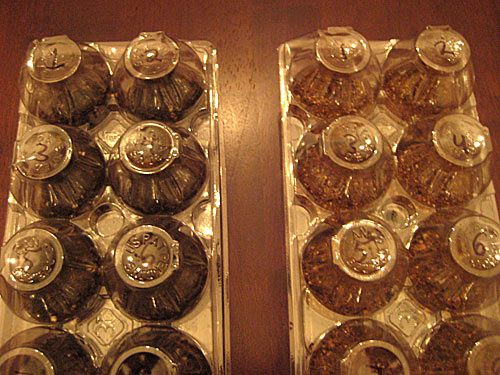
However, tonight I have successfully planted seeds for a late season collection of cool crops! Here’s what went into the ground:

  • Arugula Rocket (35 days to harvest)
  • Baby Leaf Hybrid Spinach (30-40 days to harvest)
  • Baby Bok Choy Pak Choi (35-55 days to harvest)

First Frost Date

What I have to watch out for will be the first frost date, the first evening the temps at ground level dip to 32 degrees F, for our area. There are first frost maps that can give you an average of when that fateful evening is going to arrive. For our area, this first frost map predicts it will be between October 1 and October 10.

For a more accurate first frost date, I’m going to be checking the local station on the EnviroWeather website.

Crop Tolerance

I discovered on the MSUE Extension site that different crops are more tolerant of frost than others. I guess I knew this in part because I realize our summer veggies would not do well, if even survive, our spring season here. However, I didn’t connect this with cool crops actually having a bit of frost tolerance instead of just being okay in cooler weather.

Vegetables developing from flowers (like tomatoes, beans, okra, cucumber) are  more sensitive to frost. On the other hand, vegetables that are roots or leaves are more hardy. Plants like spinach can stand a frost of less than 28 degrees F. Brr.

It is possible I will utilize the new row covers I constructed this past spring just to be on the safe side. This will ensure the above plants are safe from frost damage until they are ready to harvest.

Resources
Frost and Freezing in Fall Vegetables

Corner Garden Creation

During a recent extended family fishing trip, Mom and Dad L chatted with me about wanting to revive bits of their backyard landscape. Being globetrotters and full-time grandparents, these two had handed over the management of the area to nature. Now they wanted to introduce a bit more order and color, but still provide pollinators and birds with food.

The Site

The little, sunny area they had their eye on sits at the southeast edge of their urban, corner lot. Viewers would see the flower bed from the sidewalk, the backyard, and from within the house at the kitchen window. That section of the backyard had been overrun by bull thistle (Cirsium vulgare) for several years, so the plants had built up quite the dense colony. The soil was also heavily compacted, so it was tilled and a lot of compost was worked into the bed to begin restoring structure to the soil. Good soil structure allows water to drain down through the soil and gives plants the ability to stretch out those roots without hinderance.

The Plants

When making suggestions for the new bed, I wanted to make sure the plants:

  1. were magnets for birds, bees, and butterflies
  2. were tough and didn’t require much maintenance beyond their first year
  3. were colorful through different parts of the season
  4. were sizes from very tall (seen from the house) to shorter (seen from the edges of the bed)

Final Plant Selection for a Sunny Bed

Here is the final roundup to begin with for this bed, in the order of bloom time. The blooming period of the plants overlap each other so there is always more than one plant in bloom at once. Some of these plants were volunteers from The Lot (it’s a great way to thin out overcrowded beds in your own garden) and some were already in Mom and Dad L.’s backyard.

  • Existing Random Tulips
  • 3 Bee Balm (Monarda)
  • 2 Butterfly Weed (Asclepias tuberosa)
  • 3 Asiatic Lilies
  • 3 Hybrid Tea Roses
  • 5 Daylilies
  • 2 Russian Sage (Perovskia atriplicifolia)
  • 5 Purple Coneflowers (Echinacea purpurea)
  • 3 Black-eyed Susan (Rudbeckia hirta)
  • 3 Sedum

The Placement

Stepping stones and plants were placed in the bed. We didn’t plant right away to allow for an adequate amount of shuffling, changing our minds, and reorganizing yet again. The stones allow Mom and Dad L. a way to access the plants without stepping directly onto the bed and compacting the soil again. Here is the preliminary layout for the flower bed as it is view directly from the backyard.

082315-layoutfront

Here is the same bed viewed from the sidewalk at the edge of the property. The roses were placed at the edges of the bed and not next to the path where a gardener would get scratched up. The coneflowers at the back will provide a tall backdrop for the bed.082315-layoutfence

And here is the bed once again, this time viewed across the backyard from the kitchen window. That same backdrop of purple coneflowers will create a large enough stand to be admired from this angle as well.

082315-layoutwindow

Finally we planted and watered the plants into the bed.

Planted Sunny Flower Bed

Finishing Touches

To help keep moisture in the soil for the new plants and block sunlight from the thistles more than likely beneath surface, we mulched the bed. Cypress mulch was applied 3 inches thick throughout, even under the stepping stones. Here is the finished bed from the backyard.

082315-layoutmulchedfront

And here it is from the sidewalk. 082315-layoutmulchedfence

It was really, really, REALLY hard for me not to place the plants closer together. However, I had learned it is better to allow the plants room to grow toward each other over the years rather than on top of each other during the second season.

Hopefully our winter is kind to the garden and all these transplants make it through to spring. In our Zone 6, if we plant by the end of summer, fall allows an adequate amount of time for the plants to settle in before the snow flies. I’m excited to see this bed next spring.

Starting Seeds – An Experiment

March is upon us on the Lot, and I am already anxious to get outside and get my hands dirty from spring garden cleanup. As excited as I am, it would be better to have a more “normal” spring than last year. The early warm-up and late frost of last spring cost a lot of our fruit farmers their crops. It even caused damage on the Lot as early emerging bulbs and perennials were burned by the sudden frost.

To hold me over, I decided to make a truly genuine attempt at starting seeds indoors. Last year I made an attempt that involved forgetting to water a dozen or so seedlings. The rest were lost because I didn’t understand the concept of “hardening off” plants when moving them from the inside growing environment to the great outdoors. Apparently you cannot just shove them out of the nest like a mother bird and expect them to grow. So, this year I did a bit more reading ahead of time before planting.

Planting Medium

Planting Mediums
Left: Potting Soil; Right: Seed-Starting Mix

In his article about potting soils and seed-starting mixes, Gary Heilig says “One important factor that will determine the degree of success is the potting media.” Yeah, I didn’t know there was a difference. Seed-starting mix does not contain soil, but instead is a finer-textured combo of peat moss, perlite, and vermiculite to allow excellent drainage for the new plants. Potting soil is heavier in texture and can possibly contain manure and compost which may carry weed seeds. Both seed-starting mix and potting soil may have a fertilizer additive to help out the seedlings from when they germinate to when they get their first set of true leaves. It’s a good idea to read over the package thoroughly before choosing one.

I decided to try both; it would be an experiment! There was potting soil leftover from last growing season and I’d just picked up some seed-starting mix from the store. Perfect.

Planting Date

The planting date for seeds varies by the type of plant and can be found on the seed package. Most planting dates are situated around the last frost date in an area. The Farmer’s Almanac has average frost dates listed on it’s site. The last frost date for the Lot falls in the first week of May. More precise last frost date info can be found by calling up your Extensions Office.

Containers

Egg Carton as Seedling Tray
Top lid cut off for use as bottom water tray.

I’m not going to lie here; I didn’t dedicate much research time to containers. There is a brand of eggs in the supermarket using a great package shown above. When the top of the container is cut away it serves as a water tray underneath the carton. Even better, there is an inner flap to the container meant to hold the tops of the eggs in place. This is going to serve as a terrarium-type of cover until the seeds germinate. All I had to do was punch some holes in the bottom of each egg cell of the container. I will more than likely have to move the seedlings to a larger container before they go outside.

Keeping Records

Labeled Containers
The tops of each cell was labeled for taking notes as the plants grow.

Keeping track of planting dates, germination dates, what grows and what doesn’t can be helpful info. It not only allows troubleshooting, but helps to improve conditions and techniques for next year’s attempt. (The jury is still out on if there will be a “next year” for seed-starting here.) I color-tabbed each 12-pack container and then numbered each cell. Then on a sheet of paper I noted the plant date, plant cultivar, how many seeds were planted, how deep the sees were planted, and if potting soil or seed-starting mix was used.

Light, Temperature & Water

More serious seed-starting gardeners would set up the seed trays under grow lights. The lights can be created using warm and cool shop light tubes. However, I am going to try my luck using a South facing window. Because most seeds require 65-70 degrees to germinate, I’ll be sure to lower the heavy blinds at night to protect the seedlings from the chilly, night windows. Watering the seedlings will be done by adding water to the bottom tray underneath the cells so water can be drawn up through the drainage holes into the potting medium.

Cross Your Fingers

I hope I can keep up on the care-taking of the seedlings this time. I’d love to have some perennials and veggies started ahead of time this year. Also, I hope I can remain patient enough to see the task through. Even though half the seeds were planted Saturday (which is practically forever-ago), there were no sprouts on Sunday. My Other Half observed it is more than likely because Sunday was overcast. I’ll settle for that.